
Zendesk integration
Overview
Zendesk builds software-as-a-service products for customer support, sales and communications.
You can leverage Ortto’s powerful campaign, reporting, and dashboard features using your customer support data from Zendesk.
To do this, proceed through each of the following steps to integrate Ortto with your Zendesk service as a data source.
Accessing Zendesk
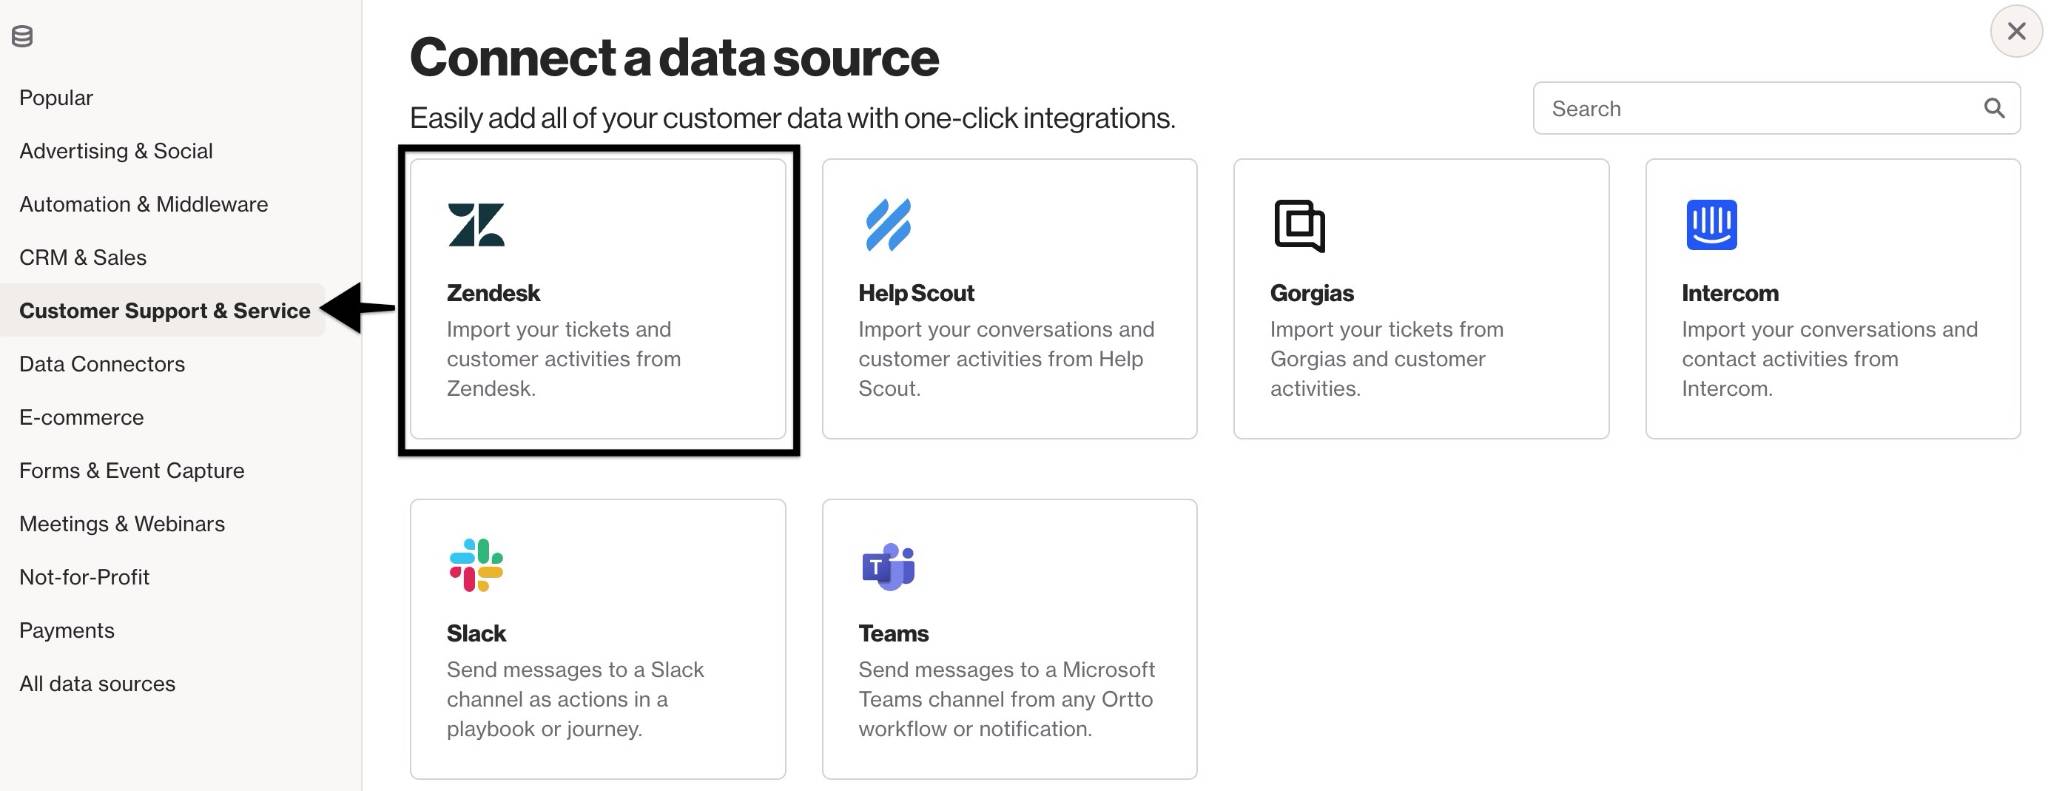
To access the Zendesk data source, go to CDP > Data sources > + New data source > Customer Support & Service > Zendesk.
Zendesk prerequisites
IMPORTANT: The integration is only available for Zendesk for service accounts, not for Zendesk Sell (Zendesk for sales).
This integration process assumes you have an operating Zendesk service, and a Zendesk user account with the Administrator role and its level of access to this service.
Connect from Ortto
To connect to Zendesk, follow these steps:
- On the Data sources page, click New data source.
- Under Customer Support & Service or All data sources, select Zendesk, then Get started.
- On the Connect to Zendesk page, start by entering your Zendesk account name in the Account field, which is the first part of your Zendesk service’s base URL:
https://<zendesk-service-account-name>.zendesk.com/ - While still on the on the Connect to Zendesk page, you can configure the following:
- At Opt-in permission, select the checkboxes to automatically opt-in all your Zendesk contacts (customers/end users) to email and/or SMS. By doing so, you confirm that your contacts have given consent to be opted-in to these subscriptions.
- At Data retention, select to either:
- store only the last 90 days of activity data, or
- select the time frame for the data stored, and the activities which will be stored.
- If needed, select Advanced options to:
- Choose which CDP fields can be modified from the Zendesk data source, or
- You also have the option to automatically archive records in Ortto when they are deleted in Zendesk.
- Click Next then sign in to your Zendesk account (if required). Click Authorize to allow Ortto to connect to Zendesk.
- Click Done to exit the setup.
NOTE:
- Future Contact Syncs: Your selection here affects future contacts synced to Ortto. For example, if you leave permission checkboxes unchecked, new contacts synced after the initial connection will have their email and SMS permissions set to false.
- Data Retention Limits: It’s recommended to set data retention limits during setup. Changing them later requires a resync, which may impact multiple audiences and campaigns. Learn more about configuring data retention.
- Merge Strategy: Unlike other data sources, Zendesk does not have a merge strategy selection when syncing contacts. However, Zendesk contacts can merge with existing contacts in your CDP based on your unique identifier rules.
How is the data merged into Ortto?
Data is merged from Zendesk to Ortto on the initial connection. Subsequently, new modified objects are synced when they occur, as the connection is based on webhooks.
The Zendesk integration is read-only, which means that no data is sent from Ortto to Zendesk.
When a person is added to your CDP from the Zendesk data synchronization, if they do not already exist as a contact in your CDP, they are added as a new contact. New contacts inherit email and SMS subscription permissions based on your selection when connecting Zendesk.
Initial data sync
Data associated with the Zendesk objects merge into the Ortto CDP.
The merge follows the data merge strategy selected during the initial connection with Zendesk. Ortto activities store data based on the objects you chose to be synced during the integration.
Ongoing data sync
Data updates at different intervals depending on the activity:
- New contacts sync every 24 hours. If added after the daily sync, they will appear in Ortto the next day.
- Ticket creation triggers a sync shortly after the ticket is created, ensuring faster updates.
Resynchronizing data
Zendesk data is resynchronized when the data source is reconnected and when the data retention limits are adjusted. The resync will not perform a full backfill of data, it will only import changes that occurred since the last Ortto request for Zendesk data.
A resync of the Zendesk data may affect the audiences and campaigns within the CDP by resetting the attributes for that person, and activities, causing a person to potentially re-enter an audience or campaign within the CDP.
What does the data source add to my account?
The Zendesk data source adds:
- Zendesk Customer (or End user) records and their associated fields to your CDP, known as people in Ortto.
NOTE:
- Zendesk identifies contacts using a Name field (without separate First name or Last name fields).
- When syncing to Ortto, the Name field is split into First name and Last name based on spaces.
EX:
- "HomerSimpson" in Zendesk → First name: HomerSimpson, Last name: (blank)
- "Homer Simpson" in Zendesk → First name: Homer, Last name: Simpson
- Zendesk activities from the last 90 days. In some cases, however, it may be necessary to store an activity and its attribute data for longer. Therefore, Ortto provides a mechanism for customers on selected Ortto plans to opt-in to selectively store their activity data for longer.
- Learn more about data retention.
- The ability to use Liquid syntax in campaign messages to personalize your messages using merge tags for Zendesk person and organization fields, and activity attributes.
- Learn more about using Liquid syntax.
NOTE: Deleting a Zendesk data source connection will not remove the current entries in the CDP for people or activities that were merged from that Zendesk connection.
View Zendesk fields in your CDP
Customize your CDP field visibility and add Zendesk fields by following these steps
- Navigate to the People page under the CDP section of the sidebar.
- Click on the cog icon > select or clear the fields you want to show or hide.
Zendesk fields are indicated with the small Zendesk icon.
Learn more about Zendesk person fields.
Access the Zendesk data source view
When a data source is connected, you are provided with a data source view. You can access its view via CDP > Data sources.
A data source’s view is the administration page where you can:
- view and manage the data source in the left-hand details panel, and
- under the relevant tabs on the right-hand side, view:
- an Overview of the data source,
- an Activity feed, and
- an Audience table, which displays the people imported from Zendesk.
Here's what you can do:
- Rename the data source: Hover over the name > click the pencil icon > enter the new name > click anywhere on the page to save.
- Disconnect the data source: Click Actions > Disconnect.
- Configure if data source can modify CDP fields: If enabled, you can select the CDP fields the data source can overwrite.
- Configure data retention: Set the activity data retention period.
Learn more about the data source view.
Using Zendesk
Integrating Zendesk with Ortto allows you to import your existing customer, ticket, and satisfaction score data.
When you import your Zendesk data into Ortto, you can:
- Use Zendesk contact to create highly-customized filters to find specific segments of people for campaigns and audiences. For example, create a filter to trigger a contact’s entry into a journey to receive a detailed customer service survey after the contact’s ticket has been closed.
- Use Zendesk ticket data to create reports and dashboards to capture metrics like new number of tickets, number of closed tickets, satisfaction score ratings by agent (assignee), number of tickets assigned to a particular agent, subjects and messages relating to a particular word or phrase, and so on.
- Create campaigns to educate customers about specific topics or features based on ticket data. For example, you run an insurance company that has many customers asking about travel insurance and what can be covered when they travel internationally. You could use ticket title, tag and message body data to create journey campaign with a series of messages to educate customers on the importance of travel insurance and how to pick the best coverage to suit their needs.
Zendesk activities
Activities from Zendesk are automatically added to your Ortto account when integrating with Zendesk.
Learn more about Zendesk activities, their attributes, and field types.
Troubleshooting Zendesk
This troubleshooting guide is designed to help you with common questions or issues you may encounter when using Zendesk as a data source.
For further assistance, please send an email to our Support team at help@ortto.com or chat with our Support team from your account:
- In the left-hand navigation drawer of your Ortto account, click Support.
- On the How can we help? page:
- Under Quick links, click Chat with support.
- Type your message in the Talk messenger widget to start a conversation with our team.
Disconnect and delete the data source
You must disconnect and archive a data source before you can delete it.
Disconnecting a data source from Ortto will stop new data from the data source merging with the CDP.
Learn about disconnecting, archiving and deleting a data source under Managing data sources.
Data source already connected
Disconnect, archive, and delete the existing Zendesk connection before attempting to connect again; the existing data source must be deleted.
Connect more than one Zendesk account
Ortto can connect to only one Zendesk account at a time. To connect to another Zendesk account, you must first disconnect and delete the data source for the current Zendesk account.