Knowledge base settings
Overview
Welcome to the Knowledge base page, the hub for managing all aspects of the knowledge base. Here, users can enable or disable it based on their needs.
The knowledge base serves as the hosted platform for articles, which users create and oversee from the Articles section located in the left-hand navigation menu.
Accessing knowledge base
To access the knowledge base page, go to Settings > Knowledge base
Managing knowledge base
The knowledge base page allows users to:
Enabling the knowledge base
To Activate or modify the knowledge base settings, simply follow these steps:
- Navigate to Knowledge base.
- Choose either ON or OFF to toggle the knowledge base.
- Click on the Edit option.
- Select the specific area of the knowledge base you wish to modify, such as Style, Content, Settings, or Translations.
Style
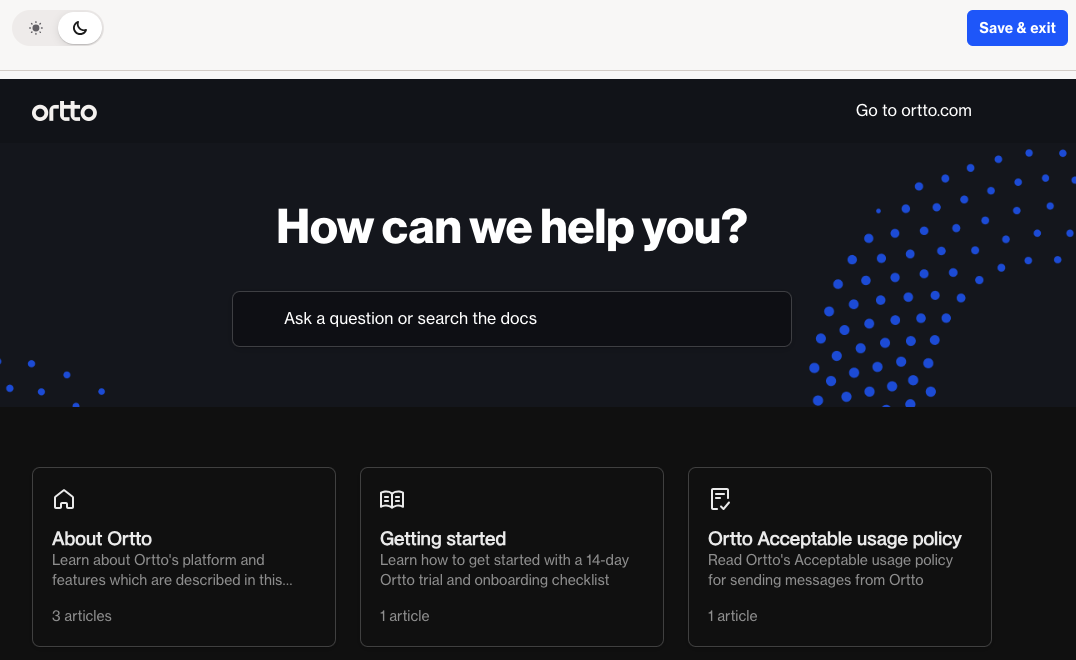
The Knowledge base features a homepage that serves as the initial point of contact for visitors. This is where you have the opportunity to tailor the appearance to align with your brand identity.
You have the option to customize the homepage by integrating logos and background images into both the header and footer sections. Moreover, you can specify the knowledge base colors and choose the preferred font family to maintain consistency and strengthen your brand's visual identity.
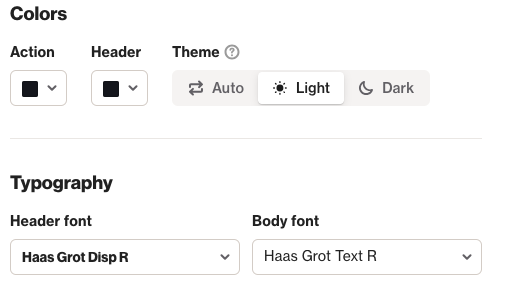
NOTE: To utilize a custom font, you must first upload it to the brand book.
Dark mode
You can also preview how the knowledge base would appear in either dark mode or light mode by toggling between the two options. The sun icon represents light mode, while the moon icon represents dark mode.
Content
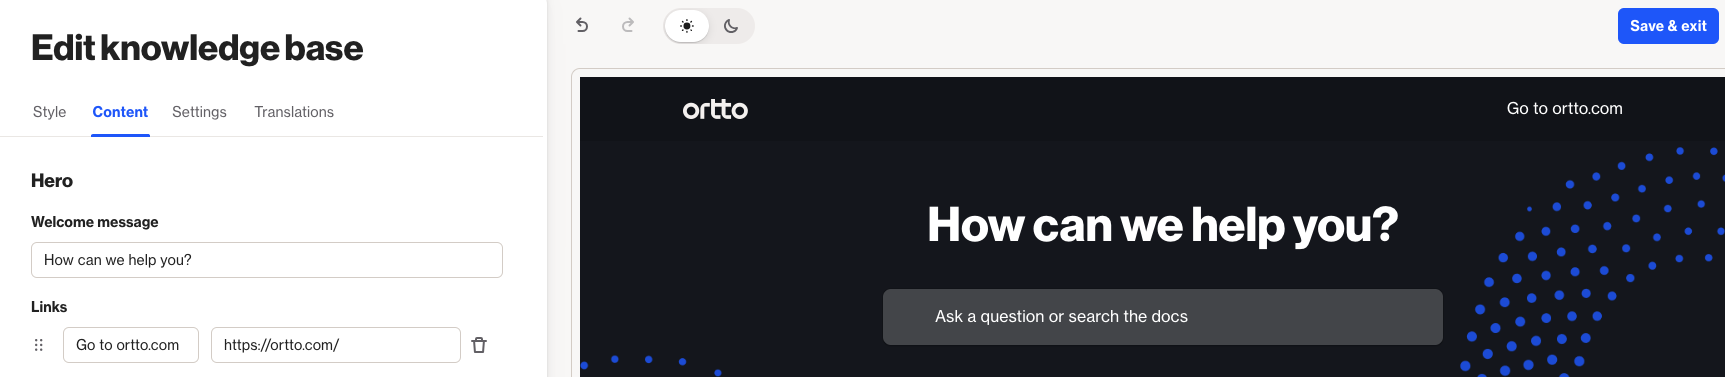
Within the Content section, you gain control over the text and links displayed on your knowledge base homepage. Here's how you can tailor it to your needs:
- Customize key links: Incorporate essential links into prominent areas such as the hero (header) and footer sections. These links may include your website’s homepage, contact information, terms of service, and privacy policy.
- Reorder links: Utilize the "re-order" icon to effortlessly rearrange the sequence of links. Simply click and drag the links to adjust their order according to your preference.
By leveraging these features, you can ensure that your knowledge base homepage effectively communicates important information and provides easy access to essential resources for your visitors.
Settings
Setting up your domain
Do you have a custom domain? Great news! You can easily use it to host your knowledge base. Just make sure that your custom domain matches one you've added in Ortto.
NOTE: Explore our step-by-step guide here to learn how to connect a custom domain.
Search engine optimization (SEO)
Tailor the page title and description to match your branding and optimize for search engines. The page description doubles as the content for your knowledge base homepage's <meta name="description"> tag. Each article can also have its own description.
Additionally, enhance your brand's representation by uploading a favicon and social image.
Custom code integration
For those hosting their knowledge base on a custom domain, the Page head code injection section allows for the insertion of custom code into the <head> element of your knowledge base homepage. This feature facilitates the inclusion of scripts for third-party analytics tools, CSS stylesheets, and custom font files, empowering further customization and functionality.
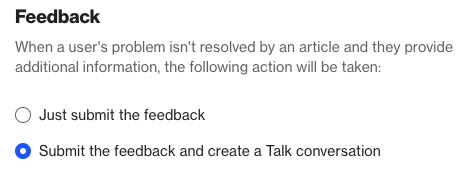
Feedback
You have flexibility in managing customer feedback. You can either initiate a conversation with an agent or simply record the feedback.
- Just submit the feedback: By selecting this option, the feedback will be recorded and accessible when you view the article in Ortto under the Feedback tab.
- Submit feedback and start talk conversation: Opting for this choice will initiate a conversation when a customer submits their feedback message. The Talk agent will have access to both the feedback message and a direct link to the relevant article. You can review these conversations and feedback messages in Ortto under the Conversations tab.
NOTE: To activate the feature of starting a conversation upon feedback submission, Talk must be enabled. This includes displaying the Talk messenger widget on the page hosting your knowledge base.
Translations
If you've enabled translations in your account settings (found at Settings > General > Language), you can set up your knowledge base to automatically translate the homepage content into your chosen languages.
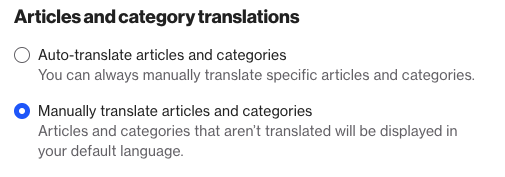
- Auto-translate feature: When you toggle on the auto-translate option, Ortto's AI will generate translations for articles and categories. If the automatically translated text requires adjustment, you can manually refine it to ensure accuracy.
- Manual translation: If you prefer not to use auto-translate (toggled off), you have the flexibility to create articles, category titles, and descriptions directly in your desired language from scratch.