
User management
Overview
The user management page provides essential tools for managing users effectively:
- User management: Add, modify, or remove users. Assign standard or custom roles to manage access and permissions precisely.
- Custom roles: Tailor roles to fit your organization's requirements. Define permissions that match different user roles and responsibilities.
- Activity logs: Review detailed logs that track user actions and data source changes.
NOTE: The number of users you can add depends on your Ortto plan.
Accessing user management
To access the user management page, go to Settings > User management.
Managing user management
The user management page allows users to:
Users
Add, modify, or remove users. Assign standard or custom roles to manage access and permissions precisely.
Learn more about adding and managing users.
Roles
Tailor roles to fit your organization's requirements. Define permissions that match different user roles and responsibilities.
Learn more about roles.
Data source logs
Review detailed logs that track data source changes.
- Navigate to User management > Data source logs.

- Here, you can view and filter various activities related to your connected data sources.
Activities
Review detailed logs that track user actions.
- Navigate to User management > Activities.
- From here, you can filter by specific Users or activities actioned by any user.
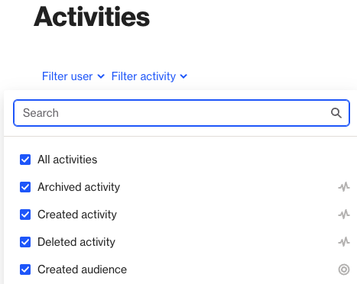
This feature enables you to view timestamps for actions taken by a specific user or all users for a particular activity.