Email templates
Overview
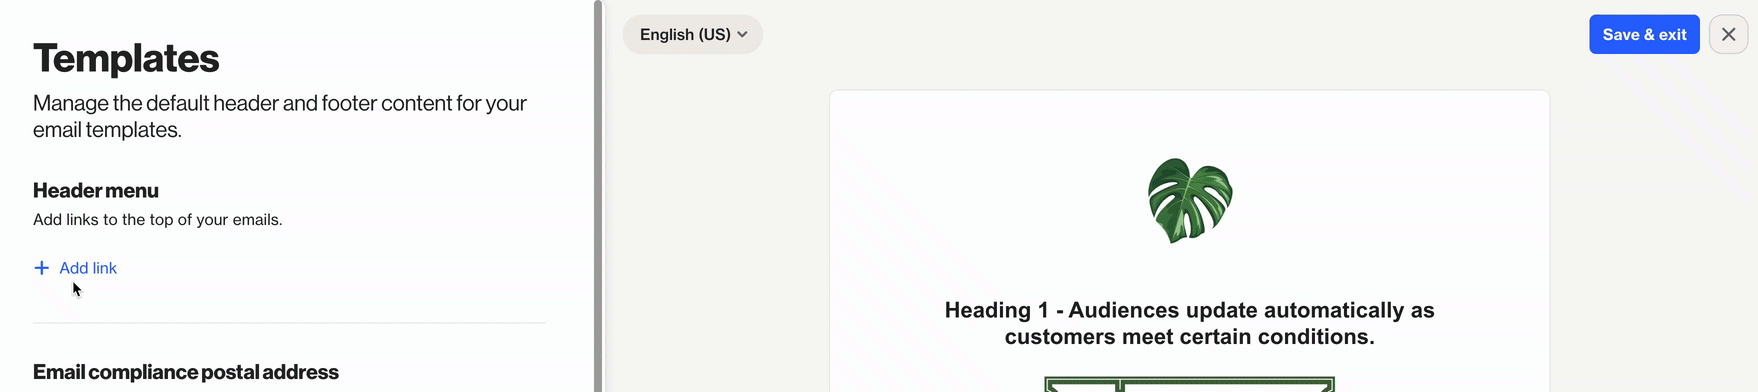
The Templates section is where users manage the default header and footer content for their Ortto email messages.
Most header and footer content settings are only adjustable from the Templates page, not during email creation. However, users can customize the footer reaction text and the colors for footer text, social icons, and reaction icons when creating an email.
Accessing templates
To access the templates page, go to Settings > Channels > Email > Templates.
Managing templates
The templates page allows users to:
Saving changes
Remember to click Save in the top right corner to apply your changes.
Default footer and header
During email creation, if you prefer not to use the Default header and footer, you can delete each section (row) at the content step.
NOTE: If you remove the default footer, ensure you include an unsubscribe link and your organization's postal address as required.
Learn more about customizing your email footer.
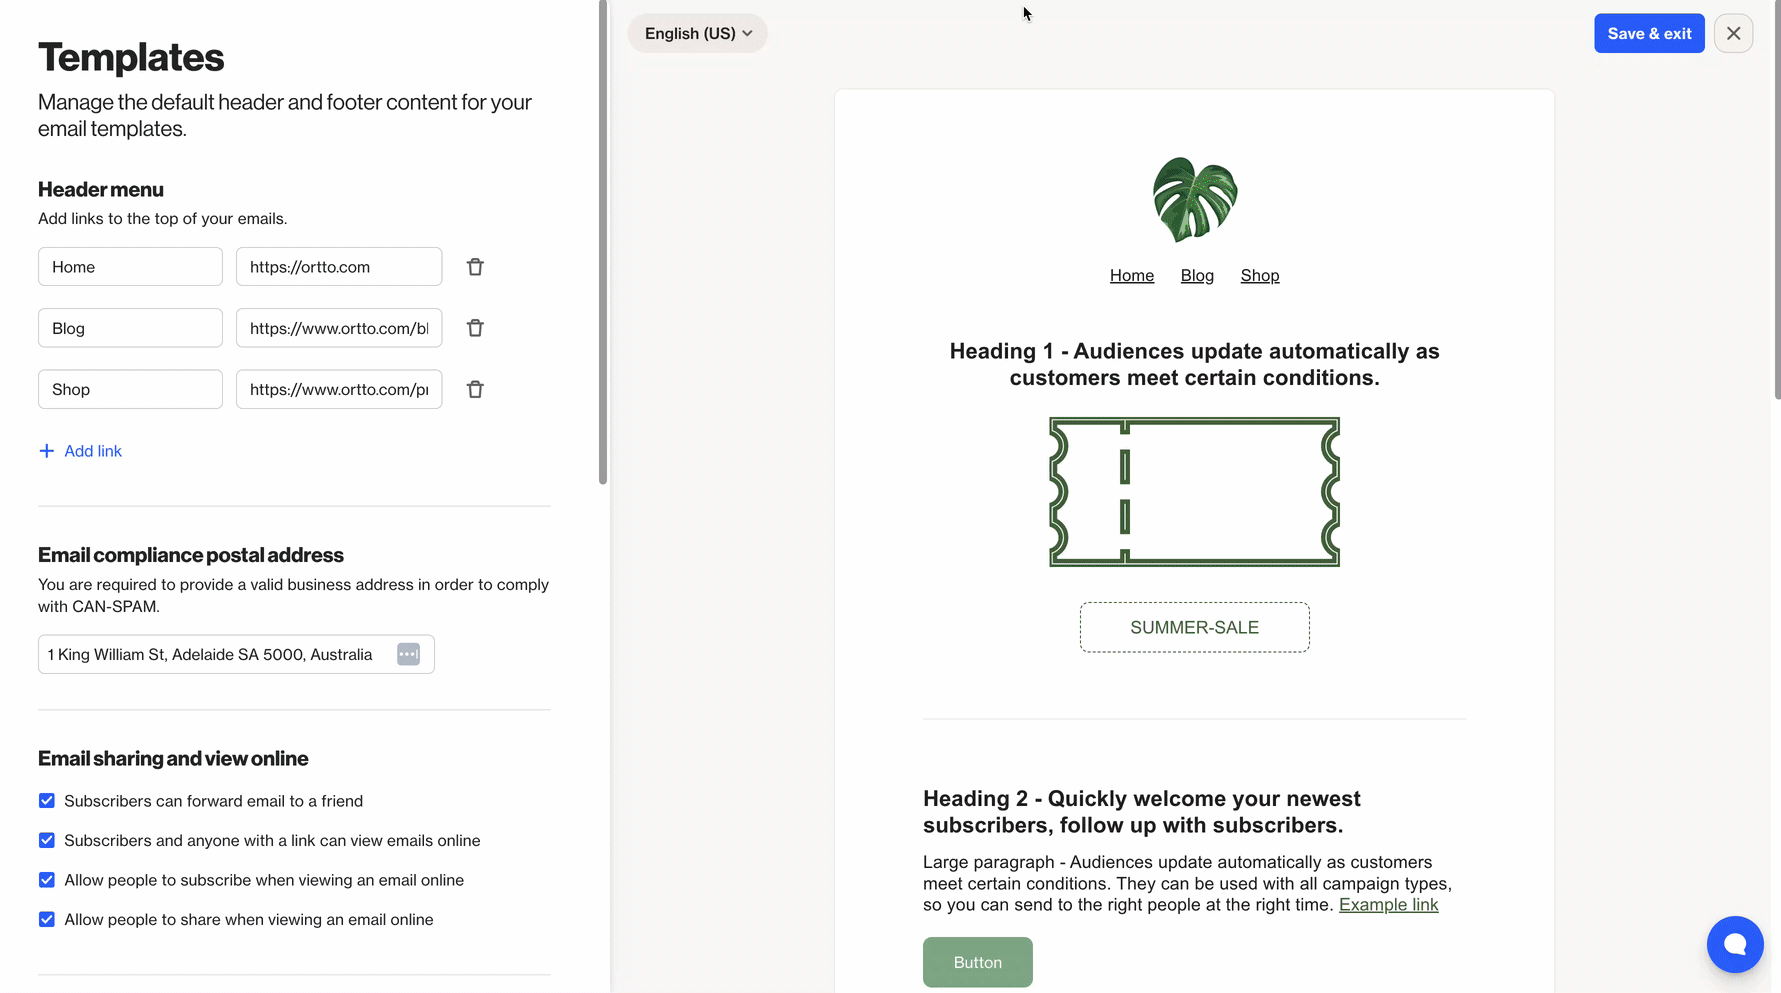
Header menu
The Header menu section lets you add up to 5 links to your email header.
To add a link:
- Click Add link to input the link name and URL.
- Ensure you include
https://orhttp://when Inputting the URL so the link is valid. - If needed, click the Trash icon to remove a link.
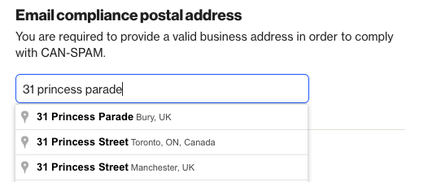
Email compliance postal address
Including your organization's physical address is necessary to comply with the CAN-SPAM Act, a U.S. law governing commercial email and other messages. This law mandates adherence to unsubscribe options, message content, and sending practices.
Learn more about CAN-SPAM.
When entering your postal address, ensure it is a physical location. As you begin typing in the input box, you can select an address from the available options provided.
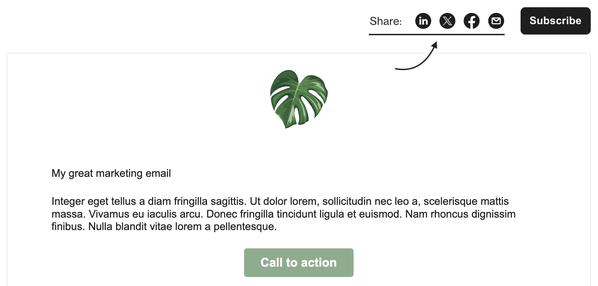
Email sharing and view online
In the Email sharing and view online section, you control the visibility of Forward and View Online buttons in your email footer.

Here are your options:
- Subscribers can forward email to a friend: Enable or disable this option to show or hide the Forward link.
- Subscribers and anyone with a link can view emails online: Enable or disable this option to show or hide the View online link.
- Allow people to subscribe when viewing an email online: This option appears when Subscribers and anyone with a link can view emails online is selected. Enabling this adds a Subscribe button to the email when viewed online.
- Allow people to share when viewing an email online — This option is only available when Subscribers and anyone with a link can view emails online is selected. When enabled, this option adds social icons with links that enable the person viewing the email online to share your content via LinkedIn, X (Twitter), Facebook, or email.
Custom text
In the Custom text section, you can add specific text that you want recipients to view, like a disclaimer or terms.
To add your custom text:
- Click Add text.
- You can input up to 8000 characters, and format text by making it bold or adding links.
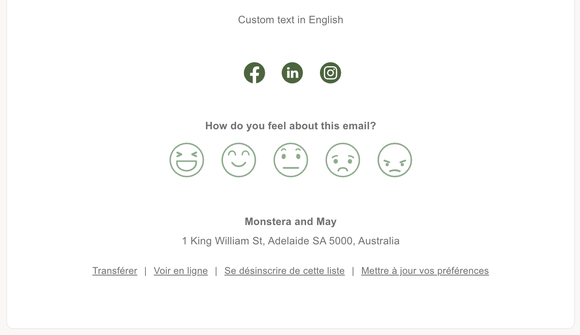
Social icons
In the Social icons section, you can include up to 6 social icons in your email footer.
To add a social icon:
- Click Add social icon.
- Choose the Platform from the list.
- Enter your Social media URL.
- If needed, click the Trash icon to remove a social icon.

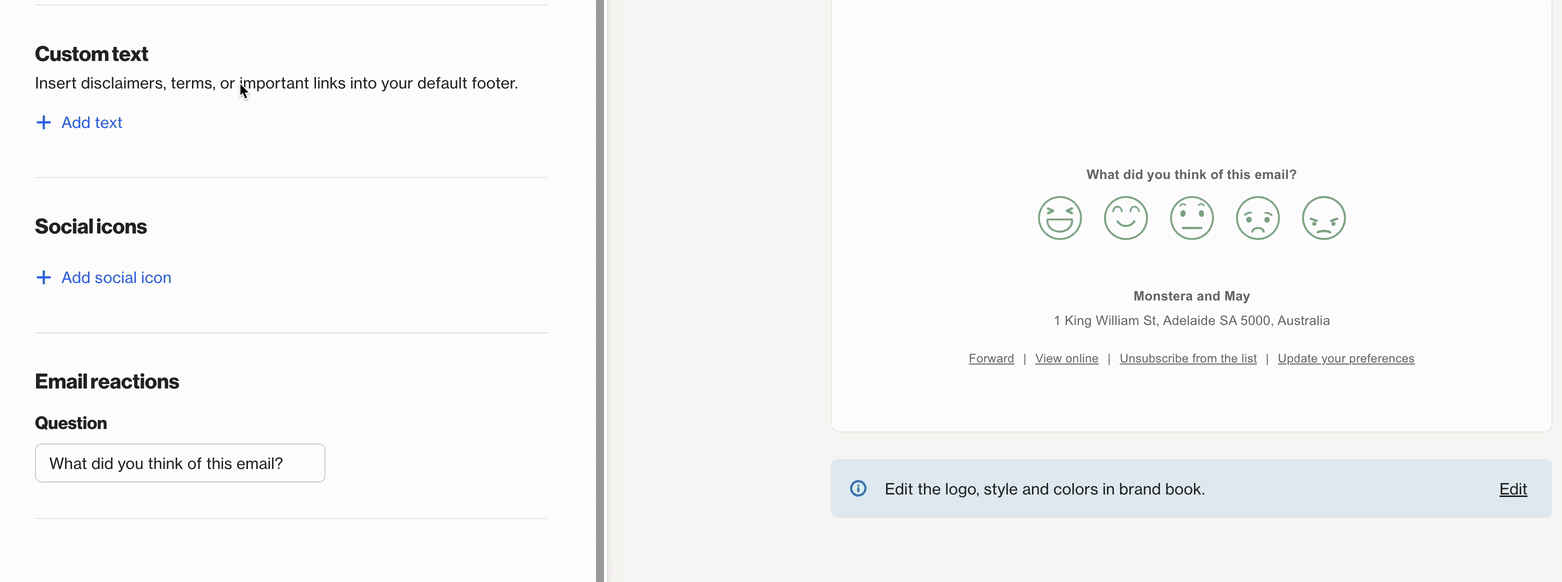
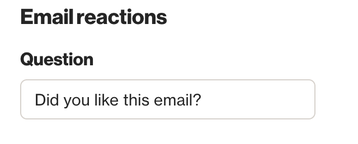
Email reactions
You can customize the text introducing the Email reactions displayed in the email footer.
Preview your header and footer
The updates you make to your default header and footer content are reflected in the preview on the right-hand side of the page.
If you have language translations enabled at Settings > General > Language > Translations, you can preview the content in these languages.
Currently, only the footer links are automatically translated.