
Creating and managing tags
Overview
Tags help you group and filter people and accounts (previously organizations) in your CDP, and conversations in your inbox.
Accessing tag manager
To access the tag manager you have two options:
- Settings > Customer data > Tags.
- CDP > People > More > Manage customer data > Tags.
Tags for people and accounts
Tags are great for labeling people or accounts with specific, unchanging values.
EX:
- Tag webinar attendees as Webinar Nov 2022, Webinar Dec 2022, etc.
- Tag users with App beta access if they’re testing a new feature.
You can use tags to build audiences for targeted messages or to run reports based on those groups.
Watch the video below to see how to create a filter and apply a tag to a segment in your CDP.
Create people and account tags
To create and manage people and account tags from the tag manager, in the left-hand navigation drawer click Settings > Customer data > Tags.
You'll land on the People tags page by default, and you can use the view menu to access the Account tags. Simply click on the building icon for accounts, and the person icon for people.
Click New tag to create a tag. Once created, you'll need to return to the People page or the Account page to assign people or accounts to the relevant tag.
Learn how to assign tags to people and accounts.
Click the more icon (…) next to a tag to access the Edit and Delete options.
View tagged people and accounts
To view the people or accounts associated with a tag, click the tag's name (or anywhere on the tag's row) and you'll be taken to the People page or the Account page (as relevant) to view the list of tagged records.
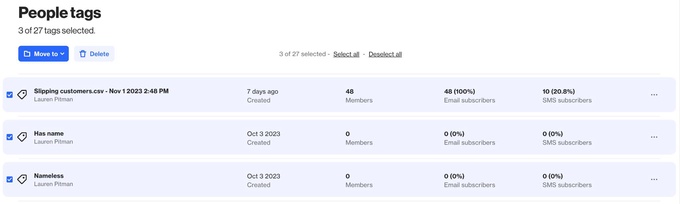
Manage people and account tags
If you hover over a tag's row, you'll see a checkbox on the left-hand side. This will allow you to select individual tags (or select/deselect all tags) to move them to a folder, or delete
them.
NOTE: Be careful when deleting tags. If a tag is used to build an audience, removing it from certain people may exclude them from that audience, and they won’t receive any campaigns sent to it.
Tags for conversations
Conversation tags can be used in a similar manner to help your support team identify different types of issues that customers have raised, or follow-up support required.
Learn more about tags for conversations.