
Inbox email addresses
Overview
Within this section, users can tailor their outgoing and incoming email settings for the Talk inbox.
Accessing email addresses
To access the email addresses page, go to Settings > Inbox > Email addresses
Managing email addresses
The email addresses page allows users to:
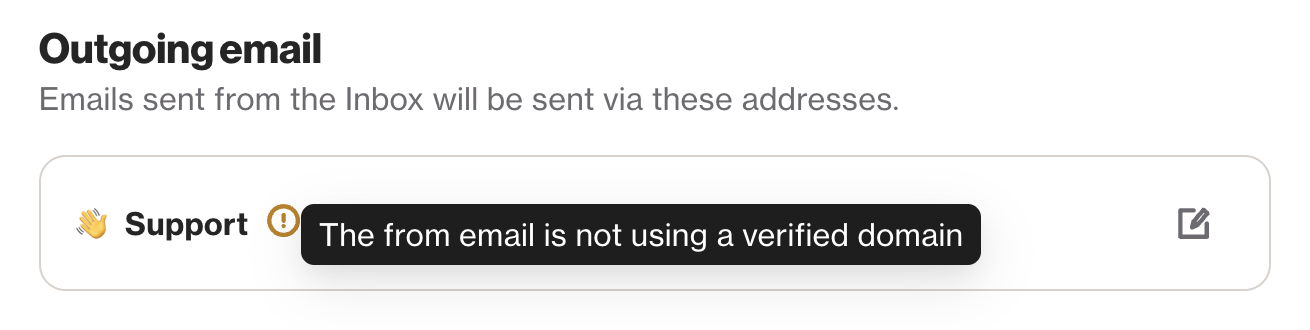
Outgoing email
Define the From name and From email utilized for agent responses dispatched via email, particularly during email handoff. If you have several teams, include an appropriate email name and address for each one.
NOTE: The From email domain must match a verified custom domain you have added in Ortto. Learn more about adding custom domains.
Additionally, you need to add the same email address/es to the list of Incoming email addresses.
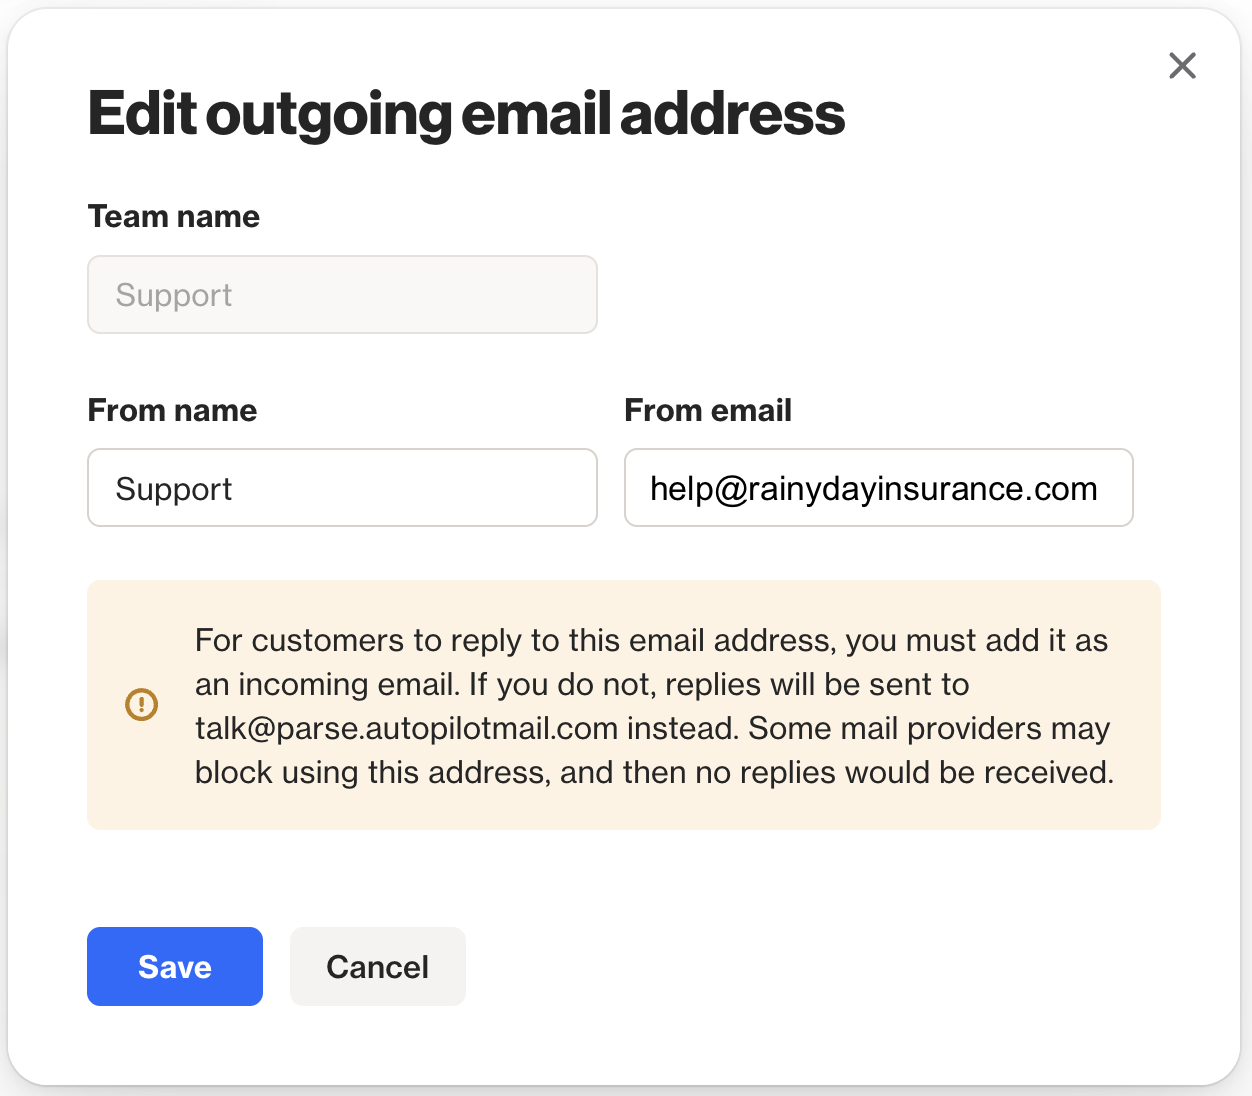
This step ensures that when a customer replies to an email sent from an outgoing mail address, the reply can be directly delivered to that address. Otherwise, the customer's reply email might default to our primary address (talk@parse.autopilotmail.com), which some mail providers may not reliably deliver to.
Incoming email
Setting up an incoming email address expands your capability to gather and manage customer inquiries originating from email, in addition to those received through the talk widget.
To ensure emails sent to your support team's address, (such as help@mybrand.com), appear as conversations in your Talk inbox, you can set up email forwarding to Ortto. This integration enables your support team to manage these conversations directly from the Talk inbox, ensuring seamless handling of customer inquiries.
Multiple email addresses
You have the option to set up multiple email addresses for auto-forwarding to Ortto, which is useful if you maintain separate email addresses for your Support and Sales teams.
It's crucial to ensure that incoming email addresses match any outgoing email addresses you've added. This ensures that when a customer replies to an email sent from an outgoing mail address, the reply (incoming email) can be delivered to the same address.
Configuring an incoming email address
- Navigate to > Inbox > Email addresses > Incoming email.
- Select Add email.
- Fill in the Select email address field.
- Select Next.
- Follow the subsequent instructions for setting up Email forwarding.
- Select your Email provider.
- The email address specified at Forward incoming mail to should correspond to your Ortto account (instance), where email messages will be automatically forwarded.
- After configuring your inbox for email forwarding, click Send test email to verify that your mailbox is set up correctly.
IMPORTANT: The email domain must match a custom domain you have added in Ortto. This ensures that the domain configuration is already validated in Ortto.
NOTE: For email addresses using Google, Ortto will wait to receive confirmation code from Google confirming that the auto-forwarding has been configured correctly.
After adding an email address, utilize the More icon to access a menu offering options to disconnect or delete the email address. Additionally, you can resend instructional information to a developer or a collaborator assisting with the setup. Email addresses will display one of the following statuses:
- Default: This is the default mailbox linked with your Talk inbox and cannot be edited.
- Connected: The email address is correctly configured to automatically forward emails to Ortto.
- Setup: The email address is not yet configured to auto-forward emails to Ortto.