
Viewing and editing an account (previously organizations)
Overview
The account view shows a full profile of an account and its linked people, including recent activities, audiences, and campaigns they’re part of.
From this view, you can:
- Edit account details
- Archive the account
- Manage tags
- Add activity notes
The view is split into two sections:
- Right side: Shows the account’s engagement in:
- Activities
- People
- Audiences
- Campaigns
- Left side: Displays account details, including:
- Editable fields
- Actions
- Tags
- About, Details, and custom sections
View an account
To view a specific account:
- Go to the Accounts page.
- Click any linked field in the account record to open the account view.
- Click X to close the view when you're done.
Activities
The Activities tab shows all activity from people linked to the account.
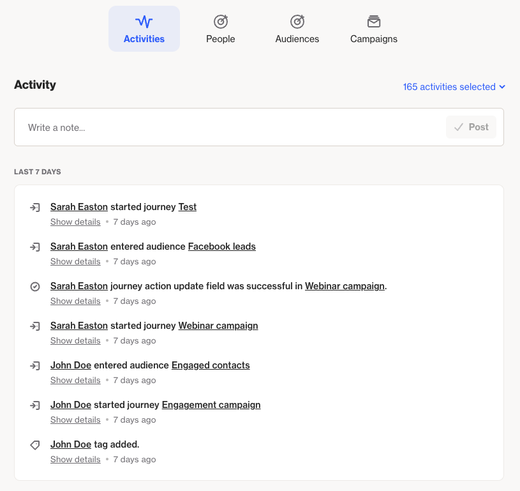
You can filter the activities you see by clicking Filter activity and selecting and clearing the filter criteria.
NOTE: Filter changes apply across all account views.
EX: if you clear a filter while viewing one account, it will also be cleared when viewing others.
The Activities feed includes links to features the account’s people were part of, like audiences, so you can easily click through to view them.
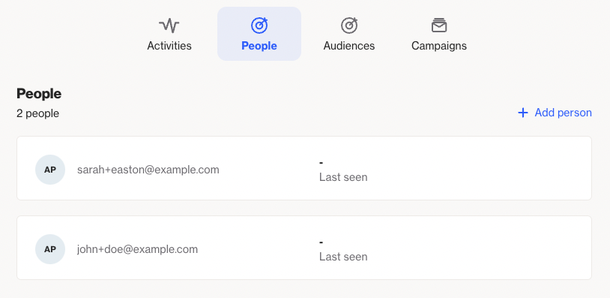
People
The People section shows everyone linked to the account.
- Click a person’s name to view their profile.
- See how recently they interacted under the Last seen field.
- You can also add a new person to the account from this list.
NOTE:
- Adding a person will create a new person record in your CDP.
- You can link a maximum of 3,000 people to an account.
- If you need to link more than 3,000 people to an account (or other similar entity such as a school or department), you can create a new person custom field of a single select field type (whose individual values would be the names of your organization, schools or departments) to work around this limitation.
- Learn more about linking a person to an account.
- Click Add person.
- Fill out the form fields.
- Click OK.
- The new person will appear at the top of the list (sorted by most recent). You can also view their record on the People page.
NOTE:
- To add a person, you must enter an email address and check the I have permission to email this person box.
- First name, last name, and phone number are optional, but recommended for a complete profile.
- If you're adding both an email and phone number, make sure to check the permission boxes for both email and SMS to confirm the person has opted in.
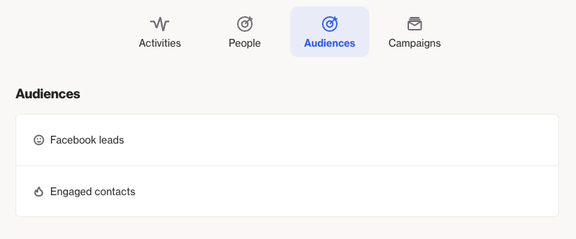
Audiences
The Audiences table shows which audiences the account’s people are part of.
Click an audience name to open its view, where you can see details, members, demographics, campaigns, and activities.
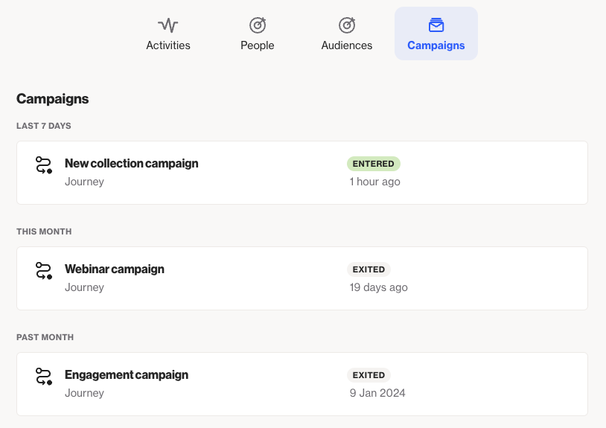
Campaigns
The Campaigns list shows key details of campaigns the account’s people have been part of.
Click a campaign name to open its view, where you can see the details, design, audience, reports, and activity.
Edit an account
In the account details panel, you can update account information and choose which fields are visible.
Actions
Click the Actions button to access key options like editing the layout or managing account details.
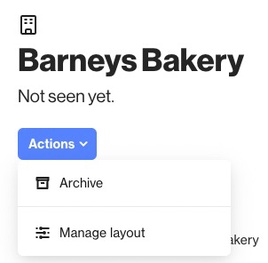
- Archive: Soft deletes the account by moving it to the archive list. Archived accounts can’t be part of campaigns, audiences, or activities. You can restore them anytime by clicking Restore.
- Learn more about archiving an account.
- Manage layout: Customize what you see in the account details panel:
- Show or hide sections using checkboxes
- Drag to reorder sections
- Create new sections and add existing or custom fields
- Delete custom sections (you’ll need to move any fields they contain first)
NOTE: Changes to the account layout apply to all account records.
EX: If you move fields from About to Details in one account, that layout will be reflected across all accounts.
Edit the accounts field data
You can edit certain fields like industry, website, or city.
To edit a field:
- Hover over the field and click Add value or the edit icon.
- Enter or select a value, then click the tick to save.
NOTE: Fields that are updated automatically through activities (like engagement) can’t be edited.
Edit the about, details and custom sections
- The About section shows key info like account name and engagement score.
- The Details section includes system data, like when the account was created or last seen.
- Custom sections can be created and used to organize existing or custom fields.
To edit a section:
- Click the edit icon to manage visible fields.
- Use checkboxes to show or hide fields.
- Click the arrows icon to move a field to another section.
- Click New section to create a custom section and move fields into it.
- To delete a custom field, click the trash icon, then type PERMANENTLY DELETE to confirm.
Learn more about creating custom fields and sections.
See the GIF below which demonstrates these steps:
Tags
You can add a tag to the account from your existing list of tags by clicking Add tag.
Remove a tag by clicking X icon next to the relevant tag.
Learn more about tagging and untagging accounts.