Managing accounts (previously organizations)
Overview
Once you've added accounts to your CDP, you can manage them from the Accounts page. From here, you can:
- View and edit accounts
- Tag or untag accounts
- Export account data
- Archive or delete accounts
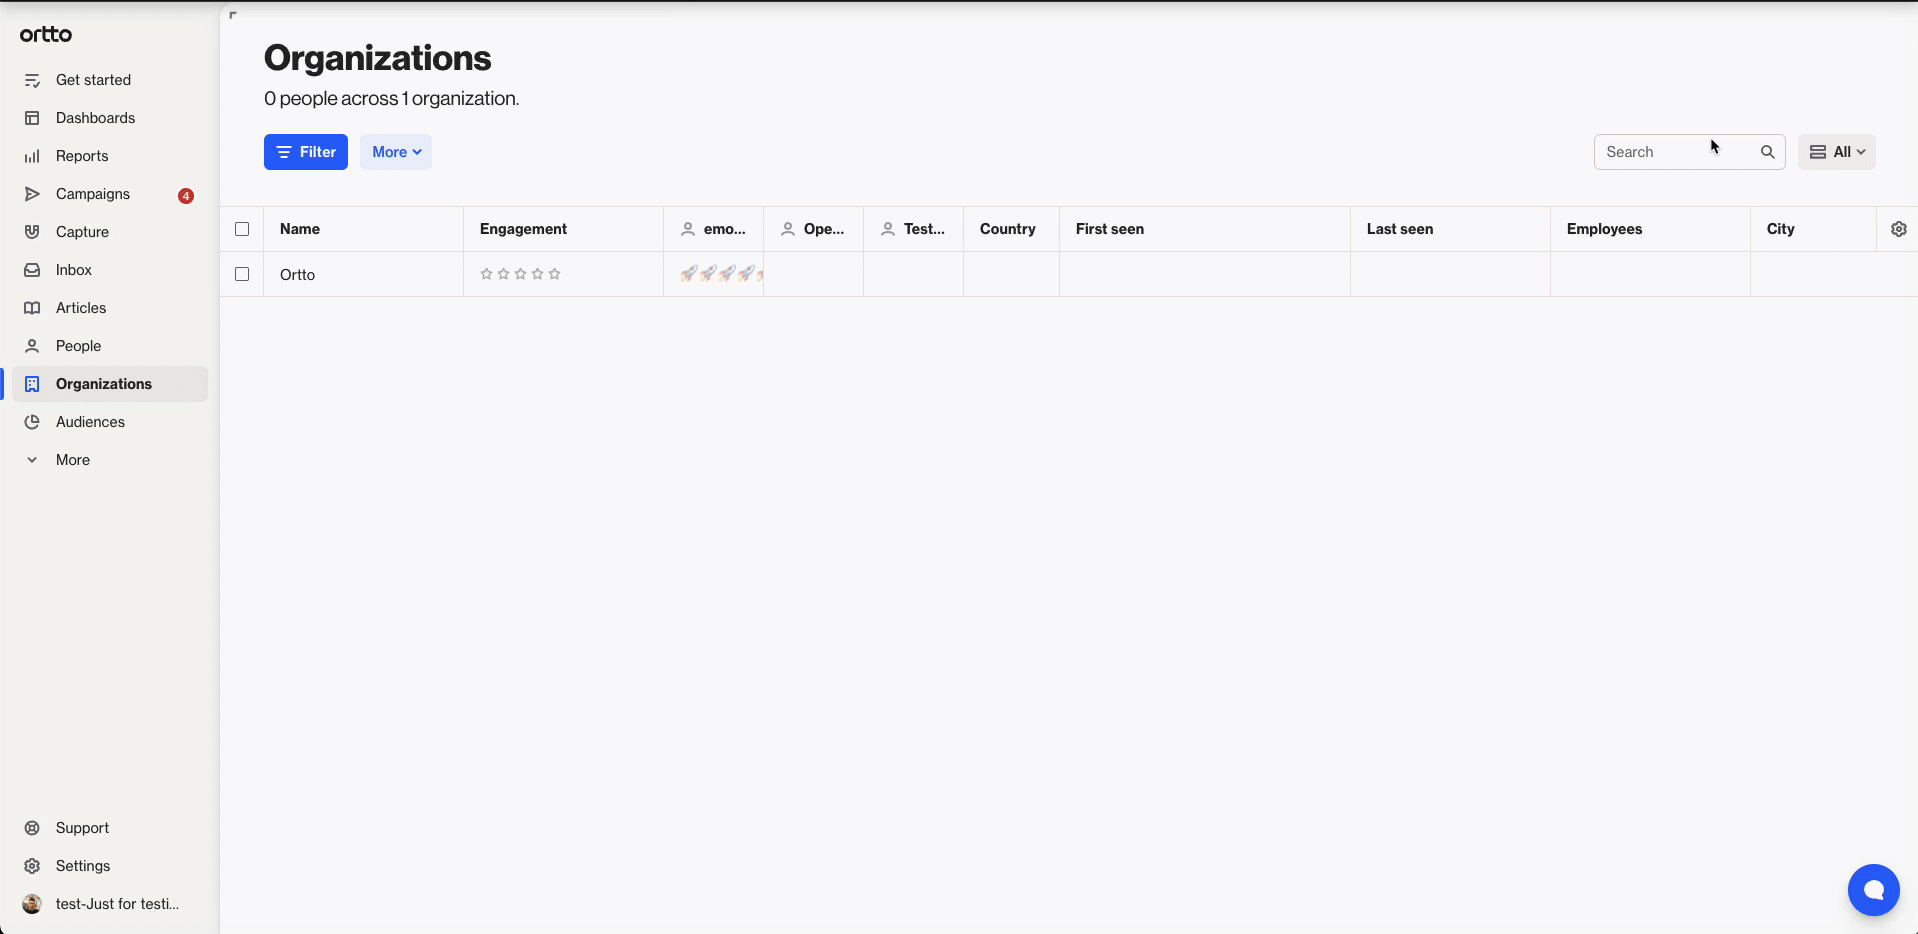
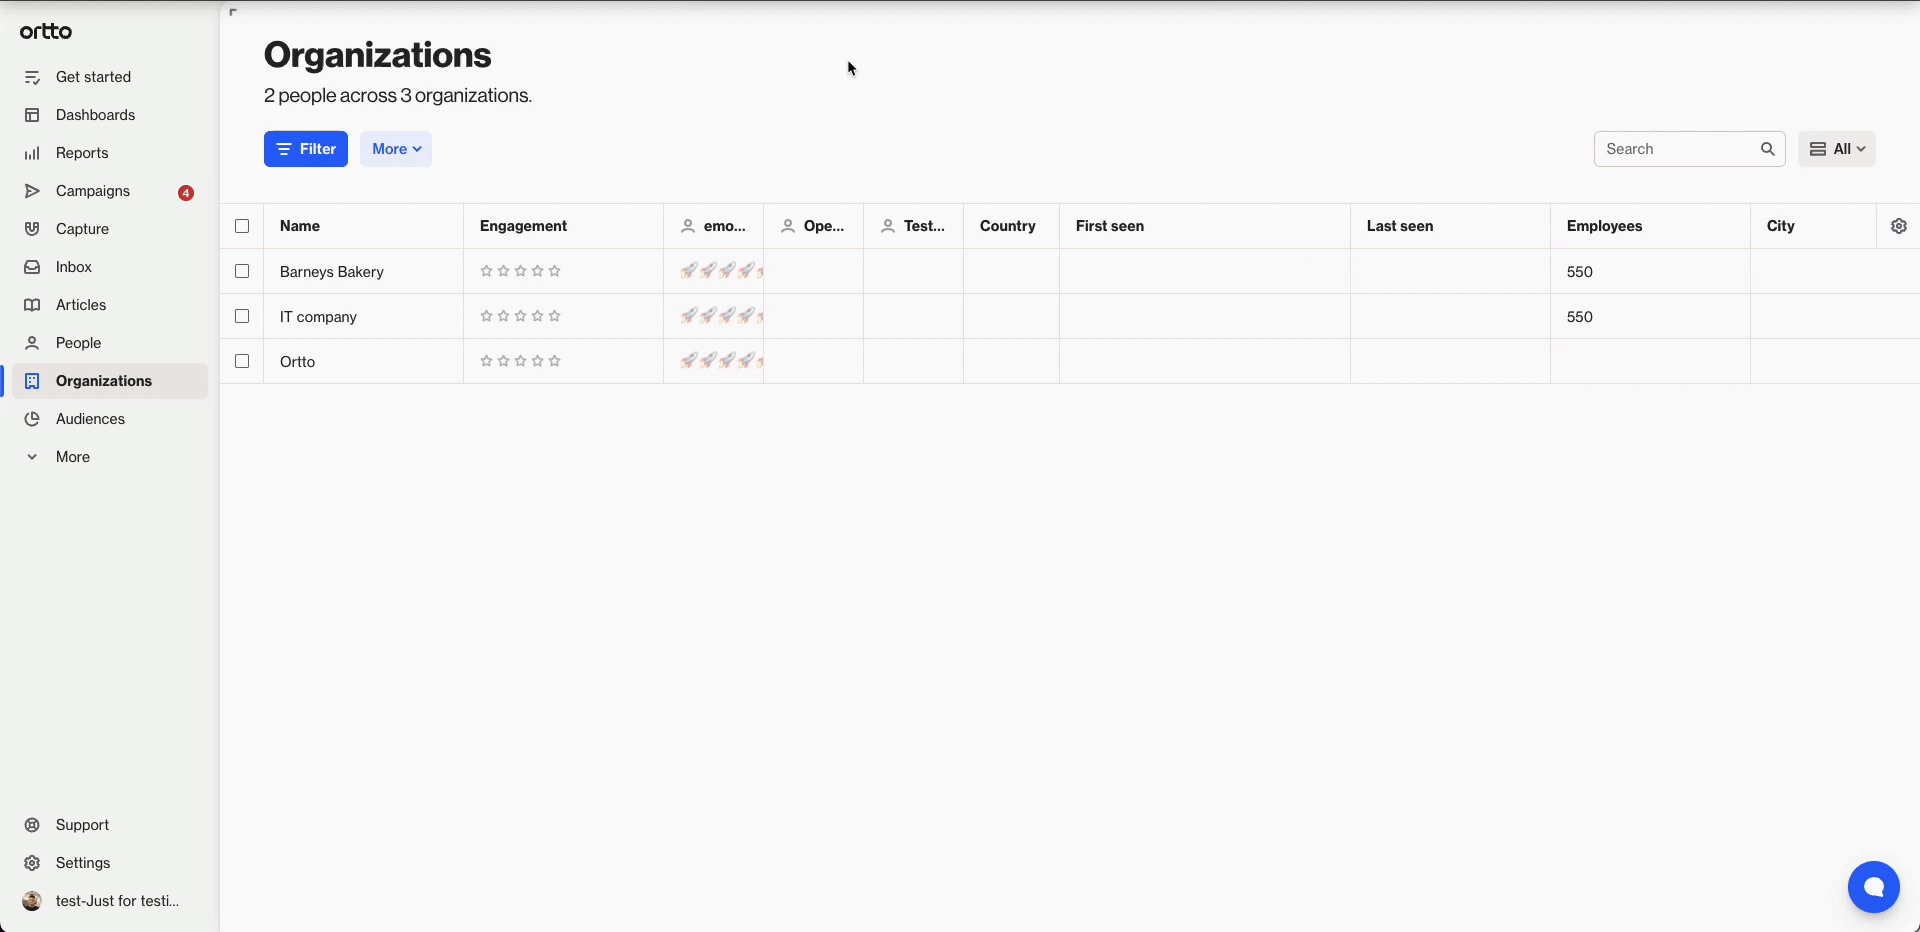
Accessing accounts
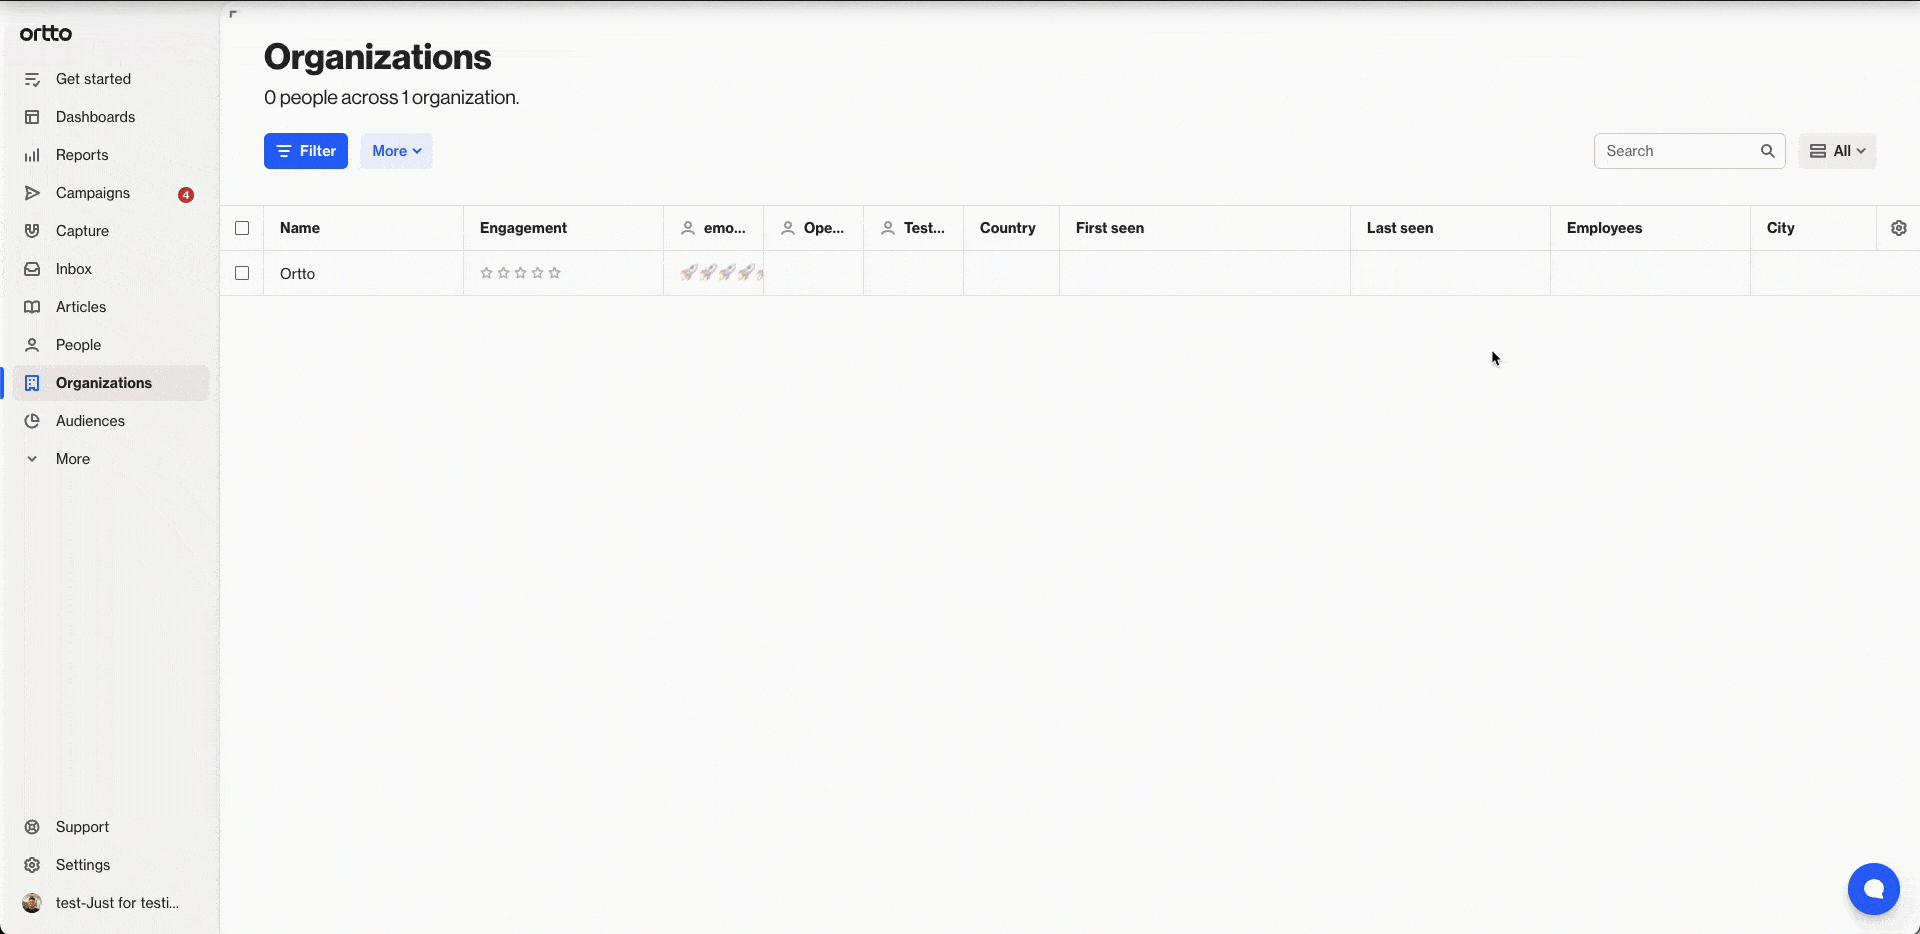
To access the accounts page, navigate to CDP > Accounts.
Filter accounts
Use filters to easily find and manage accounts and their linked people.
To apply a filter:
- Go to the Accounts page.
- Click Filter.
- Choose criteria from Audience, Person, or Account categories.
Add multiple filters by clicking Add condition. Click Clear to clear all conditions and start again.
Once you have applied all the filters you need, you can use the filter matches to:
Tag and untag accounts
Tags help you filter and group people and accounts in your CDP.
You can use tags to:
- Move records between playbooks
- Control who enters a playbook
- Group records imported or updated via different CSV files
When importing accounts from a CSV, a tag with the CSV file name and timestamp is automatically added to people linked to the account (but not to the account itself).
Tag or untag accounts
You can tag or untag accounts in a few quick steps:
- Go to the Accounts page.
- Select accounts by:
- Checking one or more boxes next to individual accounts, or
- Applying filters to select a segment, or
- Clicking the checkbox in the header to select all visible records.
- Click Tag.
- To add an existing tag, choose it from the list. To create a new tag, click New tag, enter a name, and click Done. Repeat to create more tags.
- Select or deselect tags to add or remove them.
- Click Apply. A confirmation message will appear once the changes are saved.
NOTE: Tagging or untagging all accounts, whether from your full list or filtered results, may impact audiences and campaigns.
EX: If a campaign audience is based on a tag, removing that tag from some accounts could exclude them (and their linked people) from receiving future campaigns.
TIP: If the list of tags is extensive, you can filter this list by typing one or more consecutive letters into the Search box.
Export accounts
You can export your account data as a CSV file.
- Go to the Accounts page.
- To export:
- All accounts: Click More > Export
- Specific accounts: Select checkboxes or apply a filter, then click More > Export selected
- Choose to export visible data or all data, then click Export.
You'll see a confirmation message, and the CSV file will be sent to your account email. Check your inbox to download it.
Archive accounts
Archiving an account removes it from your main list without permanently deleting it.
When an account is archived:
- It won’t appear in search (unless you’re viewing the Archived list)
- It’s excluded from campaigns and audiences
- It’s unlinked from all associated people
Archived accounts remain in the archive until you choose to restore or delete them.
To archive accounts:
- Go to the Accounts page.
- Select accounts using checkboxes or filters.
- Click Archive > OK.
To view the archived accounts, go to Accounts > All > Archived.
Restore archived accounts
Restoring an account returns it to your main list and automatically re-links it to any previously associated people.
To restore accounts:
- Go to Accounts > All > Archived.
- Select one or more accounts using the checkboxes, or select all using the header checkbox.
- Click Restore.
The restored accounts will appear back in your main list.
Delete accounts
Deleting an account permanently removes it from your CDP and cannot be undone. You'll be asked to confirm before proceeding.
NOTE: You must archive an account before you can delete it.
To delete accounts:
- Go to Accounts > All > Archived.
- Select one or more accounts using the checkboxes (or select all using the header checkbox).
- Click Delete.
- Type PERMANENTLY DELETE in uppercase to confirm, then click OK.
The accounts will be permanently deleted, and you'll return to the archived list.