
How to add the Ortto tracking code to Google Tag Manager
Adding your Ortto tracking code to Google Tag Manager enables you to manage the tracking code like any of your other tags, including configuring the tag settings and triggers.
To add the Ortto tracking code to Google Tag Manager:
- Navigate to Google Tag Manager (GTM) and sign in.
- Ensure you are in the relevant Workspace.
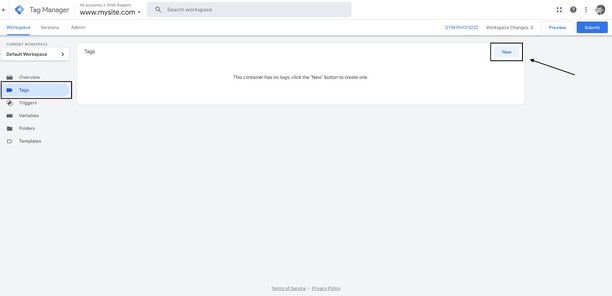
- Select Tags > New.
- Click on Tag Configuration.
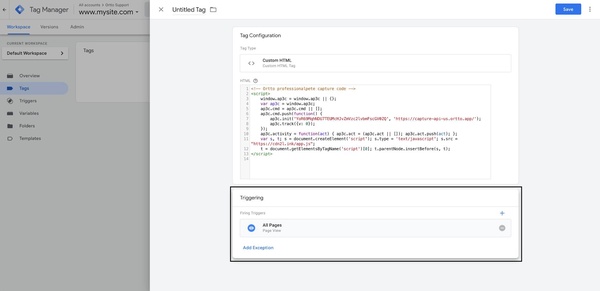
- Select Custom HTML.

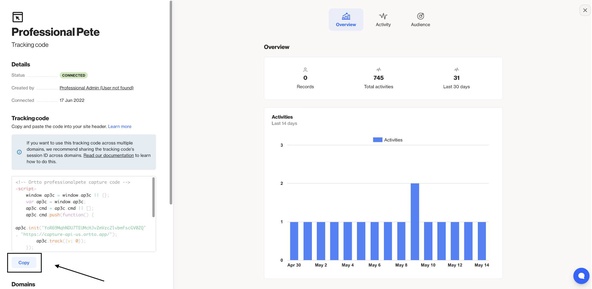
- In another browser tab or window, navigate to Ortto.
- In Ortto, navigate to your tracking code page and copy the code. Note if you have more than tracking subdomain enabled in your account, ensure you select the relevant domain before copying the code.
- Return to GTM and paste the Ortto tracking code into the HTML field.
- Click on Triggering.
- Select All Pages with the type Page View.
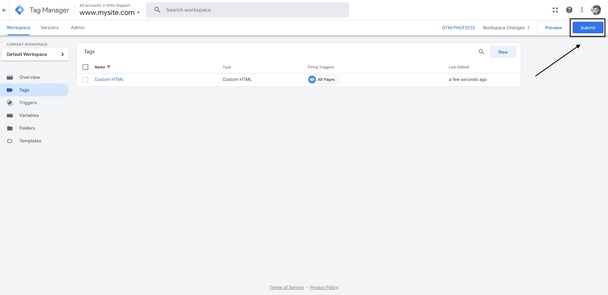
- When you’ve finished configuring the tag, click Save.
- To save your changes, click Submit.
- In the Submission Configuration, provide a Version Name (e.g. “Ortto tracking code added”).
- At this point, you may wish to verify that the tag works. Please view Google’s advice on doing so.
- Click Continue > Publish to finish.