Saved filters
Overview
Saved filters allow teams to create reusable filter templates that can be applied consistently across the Ortto platform. Instead of rebuilding complex filter conditions each time, users can save commonly used filters and share them with team members, ensuring consistency in audience segmentation and reducing setup time for campaigns, journeys, and reports.
How saved filters work
When a user creates a saved filter, it stores the filter criteria as a template that can be inserted wherever filtering is available in Ortto. The saved filter can act as a starting point that can be further customized without affecting the original template or any previous instances where the filter was used.
Saved filters are built against either People or Accounts as the base object. People-based filters can include account-level fields, allowing for segmentation that combines individual contact attributes with account-level data.
Creating a saved filter
Saved filters can be created in two ways: directly from the Saved filters page or by saving existing filters on the People page.
From the Saved filters page:
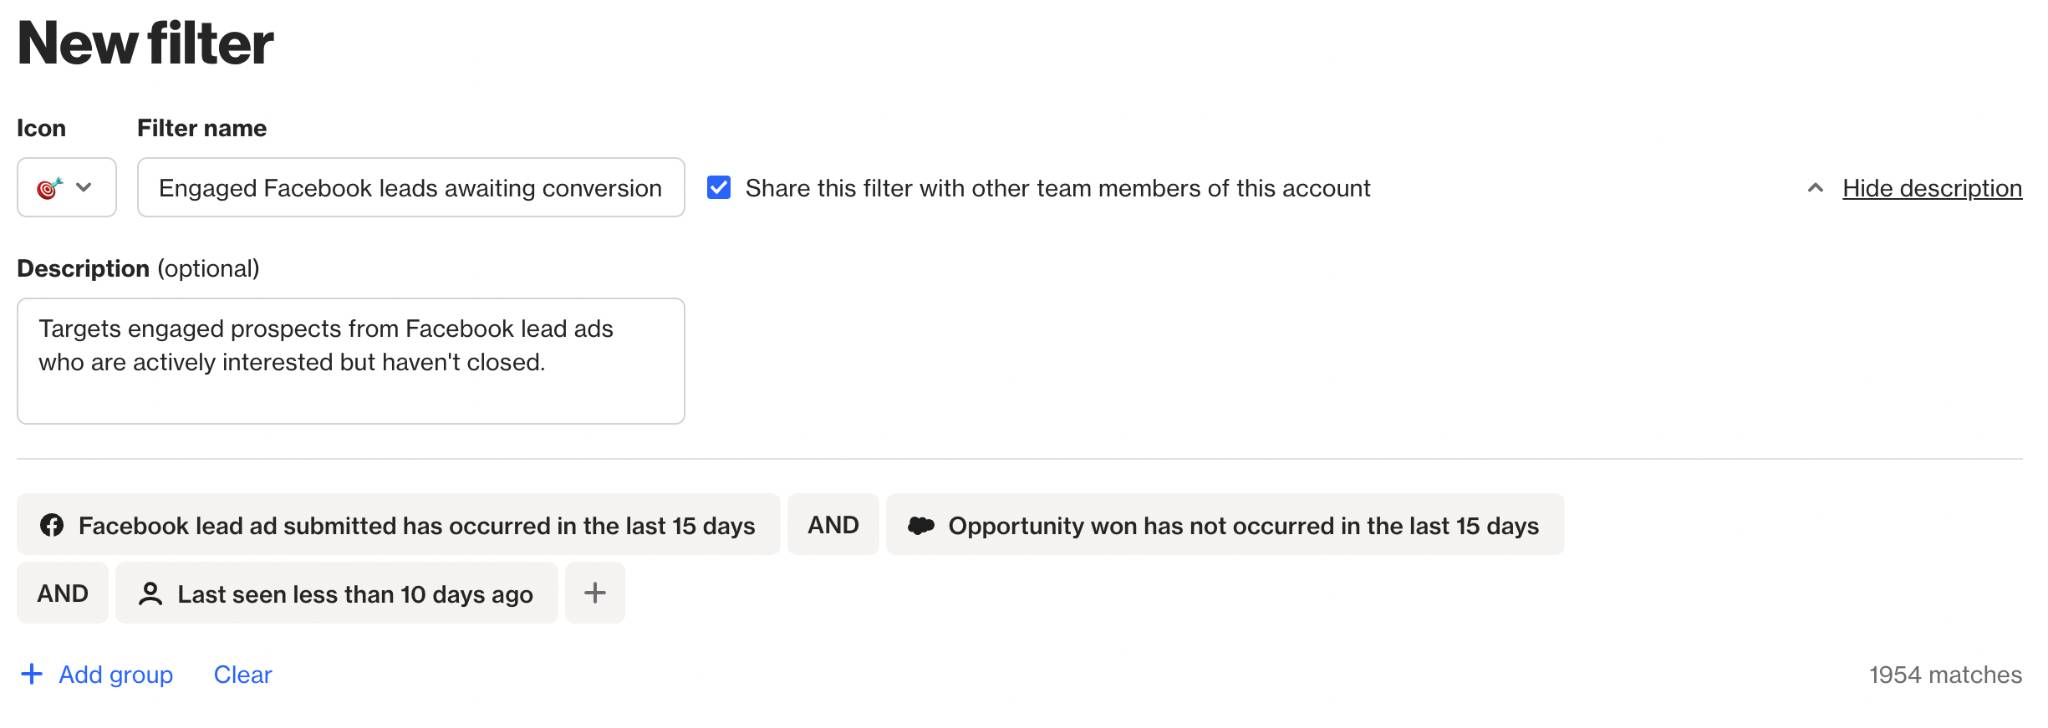
1. Navigate to Settings > Customer data > Saved filters, then select New filter.
2. Choose an icon, enter a name, and optionally add a description.
3. Select Share this filter with other team members to choose whether to save it for personal use or share it with the entire team.
From the People page:
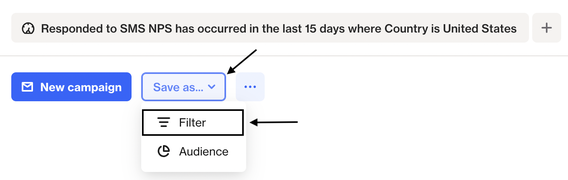
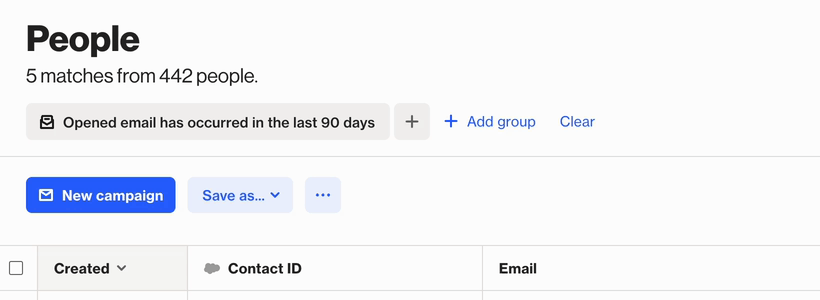
When creating or viewing a filter on the People page, you have the option to save it as a saved filter by clicking Save as… > Filter.
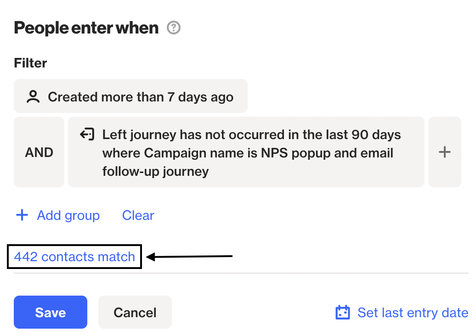
TIP: If you’d like to save an existing journey criteria as a saved filter, you can do so by editing the criteria and then clicking X contacts match. This will take you to the People page with the criteria already built as a filter, where you can save it as a new saved filter:
Using and managing saved filters
Saved filters can be inserted anywhere in Ortto where filtering is available, including the People page, Journeys and Reports.
TIP: If you already have an existing filter and select a saved filter to add to that filter, the system evaluates the current context and adapts to the existing AND/OR pattern.
Editing a saved filter
A saved filter can be edited from the Saved filters page, found under Settings > Customer data > Saved filters.
1. Click the three dots (…) and select Edit.
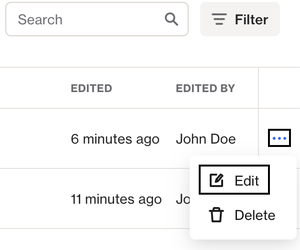
2. Make your changes and click Save.
NOTE: Editing a saved filter will not update any existing filters that were created using that saved filter. Changes will only apply the next time you use the saved filter.
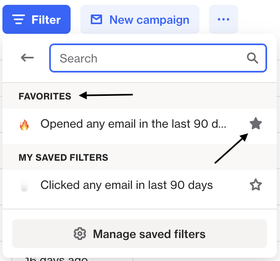
Favorites
For filters that you plan to use more often, you can add them as favorites by clicking the star icon. This will essentially add them to the top of the saved filters dropdown, allowing you to find and select them more quickly.