
Using liquid in email messages
Overview
Ortto allows you to use Liquid template language in your email, SMS, and push notifications. This helps you personalize content by combining merge tags with Liquid syntax for dynamic messages.
Learn more about personalizing campaign content with liquid.
Email messages
To view and edit Liquid syntax for merge tags in an email message:
- Go to the Content page of your email.
- Click inside an existing Text box.
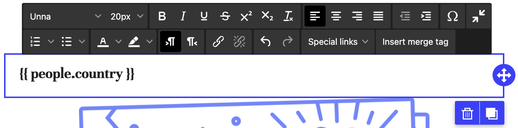
- In the toolbar, click Insert merge tag.
- In the dialog, select the relevant field (Person, Organization, or a data source) or activity attribute.
- Choose the field category or activity name, then select the field or activity attribute.
- Set a default value if needed.
- Click Add to insert the value at your chosen location.
NOTE: If there’s no existing Text box in the email content editor, simply drag a new Text box into the editor and click inside it.
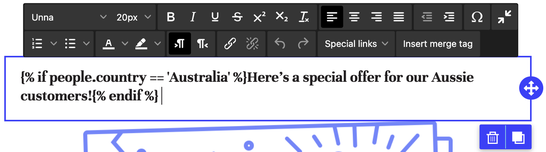
Once added, the field or activity attribute will appear in Liquid syntax. You can then add values and other Liquid syntax (like control flow, iteration, variable tags, and filters) to dynamically control content with logical statements.
TIP: Use the Send test email feature to run the Liquid code and check for any issues before sending the message to your audience.
Use merge tags in URLs
You can create dynamic URLs by using merge tags. For example, if you have a custom person field with a registration or login URL, you can add it as a merge tag in your URL.
To do this:
- On the Content page of your email, click inside an existing Text box.
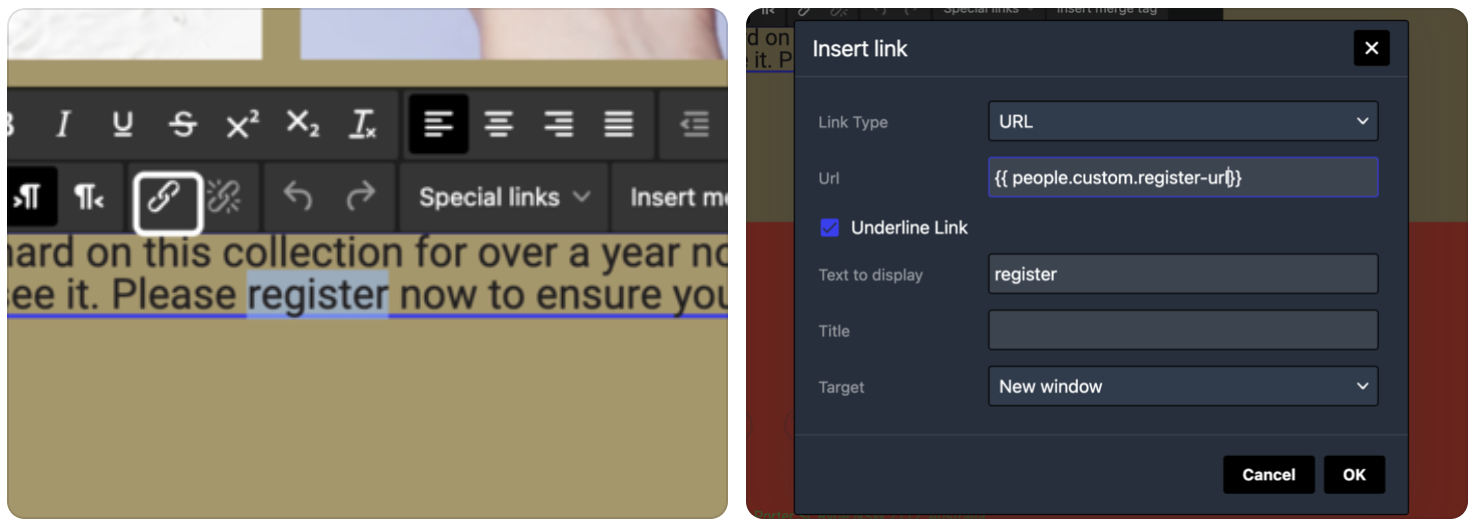
- Type your text and highlight the word you want to link (e.g., "register").
- Click the link icon and, in the Insert link box, paste the merge tag for your custom person field (e.g.,
{{people.custom.register-url}}). - Edit other link settings if needed, then click OK to finish.
You can also use merge tags as links to direct a potential customer back to their abandoned cart, including details of the products left behind, if you have an ecommerce data source connected to your Ortto account.
EX: You could add a button with the text Complete your order and for the URL, insert a merge tag such as Shopify’s
{{activity.shopify.abandoned-checkout.abandoned-checkout-url}}Merge tags can be used to complete a URL or add dynamic elements to an existing URL, such as custom parameters in UTMs. This allows you to:
- Direct contacts to personalized URLs based on their details
- Pass contact information to other systems, like pre-filling fields in Typeform
EX: If your Typeform form is set to prefill fields, you can use the merge tag for the fields to provide those items to the form in its URL.
Here's an example of how you can input the merge tags for name and email:
https://form.typeform.com/to/abc123?name={{ people.name }}&email={{ people.email }}Liquid special links
When sending an email campaign with your own HTML template, you can use Liquid syntax for special links like unsubscribe, preferences, view online, and forward. These links are typically available in the Content step via the text box options when creating the campaign.
- Unsubscribe:
{{ urls.unsubscribe }} - Update your preferences:
{{ urls.preferences }} - View online:
{{ urls.viewonline }} - Forward:
{{ urls.forward }}