
Saved rows
Overview
Save time when writing emails by creating reusable content rows. These components can be easily added to new or existing email drafts, cutting down on repetitive writing tasks.
You can use saved rows across different campaign types like playbooks, journeys, and email campaigns whenever you access the email editor.
Accessing saved rows
To access saved rows, Create or edit an email asset > on the Content tab > select Rows > select Saved rows.
Managing saved rows
NOTE:
- You can save as many rows as you need without any restrictions.
- You can view up to 30 saved rows in the list. If you have more than 30 saved rows and can't find a specific one, use the Search by keyword option.
Create a saved row
- Navigate to the Content tab of an email asset.
- Hover over the Row you want to save.
- Click the Save (floppy disk) icon.
- Give the row a Descriptive name.
- Click Save.
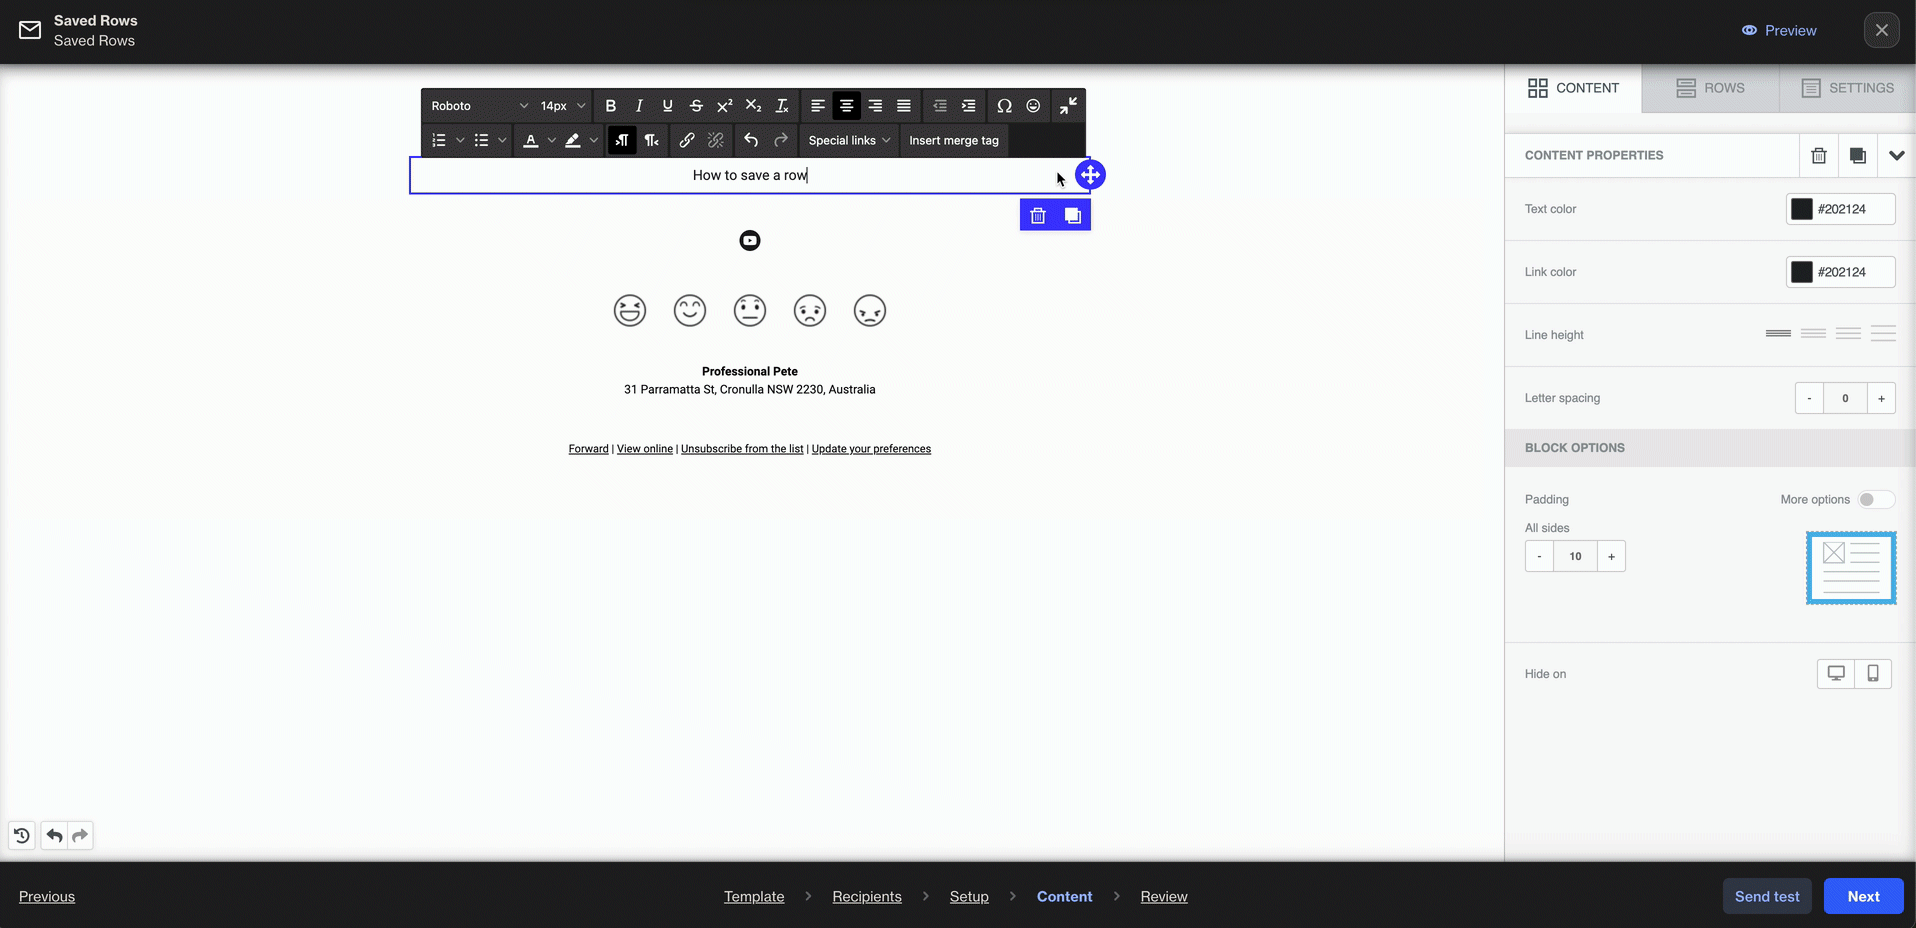
NOTE: When hovering over your content, ensure that the outer colored highlight indicates Row. This save option is specifically available for the entire row and not for individual elements within the row, such as a text block.
Use a saved row
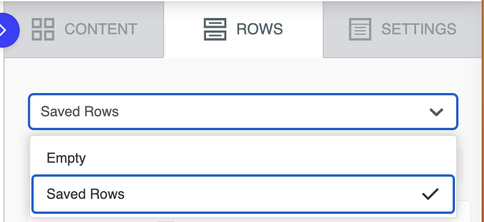
To use saved rows while editing an email:
- Navigate to Rows on the right-hand side menu.
- Change the drop-down filter from Empty to Saved rows.
- Click and Drag the desired saved row into your email design to add it to your content.
NOTE:
- When you move your saved row, look for the thick purple line and Drag it here text to guide where it will be added.
- Saved rows created in one campaign can be used in others.
IMPORTANT: If a saved row is part of a template shared to another Ortto account, it won't be reusable. In that case, create a new saved row as needed.
Edit a saved row
Currently, we're unable to directly edit saved rows. To make changes, you'll need to Insert the saved row into your email, modify it there, and then save it again as a new saved row. This ensures your updated content is saved as a fresh version for future use.
Duplicate a saved row
After inserting a saved row into your email asset, you can duplicate it if you need to use it more than once.
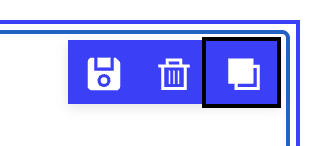
- Insert the Saved row to the email asset.
- Select the Row.
- Select the Icon on the far right to duplicate the row.
Delete saved rows
To delete saved rows while editing an email:
- Navigate to Rows on the right-hand side menu.
- Change the drop-down filter from Empty to Saved rows.
- Hover over your saved row and click Delete.
This action will remove the saved row from this area across all campaign types.
NOTE:
- If you delete a saved row that has already been added to an existing email draft, the content will not be removed from the email itself.
- You can choose to re-save the row or retain the content within your email.
IMPORTANT: Please keep in mind that deleted saved rows cannot be restored.