Create an embeddable form
Overview
The embeddable Form lets you create a form capture widget that can be added directly to your website’s HTML. It’s a simple way to collect customer information and feed it straight into your Ortto account for use in journeys, audiences, and reporting.
Accessing embeddable forms
To access embeddable forms, navigate to Marketing > Capture > New widget.
NOTE: To make the embedded form work with Ortto, add the tracking code to the <head> section of any page where the form appears.
All ecommerce integrations in Ortto automatically include the tracking code. For other data sources, you’ll need to add the tracking code manually.
Create an embeddable form
To create an embeddable form in Ortto:
- Navigate to Marketing > Capture.
- Select New widget and create a new widget from scratch.
- Under Widget types > select Inline (this is the embeddable form option).

You can then edit the content and style like other capture widgets, with a few differences:
- Only form-specific content components are available.
- Click Add field to include an existing field or create a new one.
- New fields can be saved as temporary activity data or as a custom field on the person’s record.
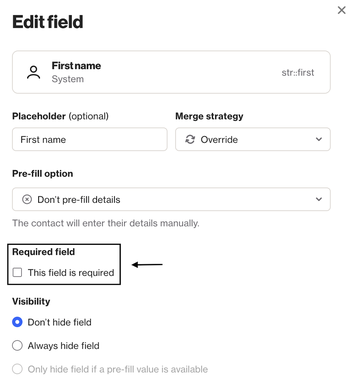
- Fields can be pre-filled or hidden based on known contact data.
- Learn more about how to pre-fill and hide form field data.
- Use the Required field checkbox in a field’s settings to make it mandatory.
Adjust form options
When setting up your inline (embeddable) form, you can customize the following options:
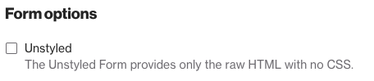
- Unstyled: Outputs raw HTML with no CSS, so the form matches your website’s design and theme.
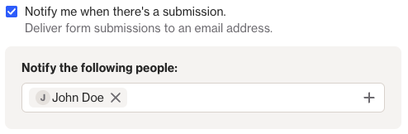
- Notify team via email: Sends a submission alert to the people listed as email recipients.
- Notify team via Slack: Sends a notification to a selected Slack channel when someone submits the form.
NOTE: Form field names and labels are limited to 50 characters. Need more space? Use the placeholder field instead — it has no character limit. You can set this by editing the field in the widget editor.
NOTE: A capture widget’s default find strategy is set to “any.” This means it checks multiple merge_by fields in sequence to determine whether a person already exists.
For example, if both email and phone are submitted in the capture form:
- The system first looks for a match using the email.
- If no match is found, it then tries the phone number.
- If neither field matches an existing record, a new person is created (based on the merge strategy).
In short, the “any” strategy attempts to match using any one of the provided identifiers, stopping as soon as a match is found.
Add the form to your website
- Copy the form’s Embed code and paste it into your website’s HTML where you want the form to appear.

2. Tracking code requirements:
- If you’re using an ecommerce integration set up through Ortto’s Data sources page or during account creation, the tracking code is added automatically.
- For all other setups, manually add the tracking code to the
<head>section of any page that includes the form.
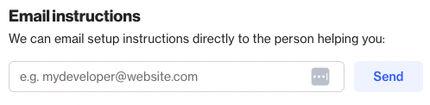
3. Need help from a developer? Use the Email instructions option to send them the embed and tracking code details directly.