Creating a new dashboard
Overview
Ortto dashboards give you a real-time view of your key marketing and customer data in one place. They bring together reports from different data sources, so you can easily track performance, spot trends, and make informed decisions. Dashboards are customizable and can be built from scratch or using templates tailored to your goals.
Accessing dashboards
To access dashboards, navigate to Analytics > Dashboards.
Create a new dashboard
- Navigate to Analytics > Dashboards.
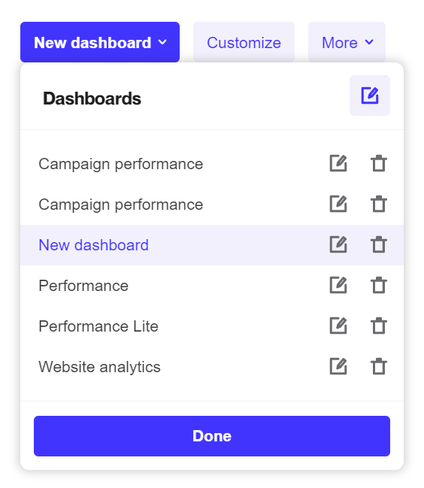
- Open the dashboard selector and click New dashboard.
You can choose to create a dashboard from a template or from scratch:
Using a template
- Select a template based on your use case, data source, or one that’s Saved or Shared with you.
- Click Use template to start.
- If the template requires data from a connected source, choose the relevant accounts.
- You can rename the dashboard by clicking the edit icon next to its name.
Creating from scratch
A new dashboard will start blank until you add reports.
- Click the dashboard selector, then the edit icon to name your dashboard.
- Click Add reports to enter customize mode, then select Add report.
- Choose an existing report or create a new one.
- Drag and drop reports to arrange them as needed.
- Click Done to save your dashboard layout.